
CLI
CLI
The IoTDB Command Line Interface (CLI) tool allows users to interact with the IoTDB server. Before using the CLI tool to connect to IoTDB, ensure that the IoTDB service is running correctly. This document explains how to launch the CLI and its related parameters.
In this manual, $IOTDB_HOME represents the installation directory of IoTDB.
1. CLI Launch
The CLI client script is located in the $IOTDB_HOME/sbin directory. The common commands to start the CLI tool are as follows:
Linux MacOS
Shell> bash sbin/start-cli.sh -sql_dialect table
#or
# Before version V2.0.6.x
Shell> bash sbin/start-cli.sh -h 127.0.0.1 -p 6667 -u root -pw root -sql_dialect table
# V2.0.6.x and later versions
Shell > bash sbin/start-cli.sh -h 127.0.0.1 -p 6667 -u root -pw TimechoDB@2021 -sql_dialect table
Windows
# Before version V2.0.4.x
Shell> sbin\start-cli.bat -sql_dialect table
#or
Shell> sbin\start-cli.bat -h 127.0.0.1 -p 6667 -u root -pw root -sql_dialect table

# V2.0.4.x and later versions
Shell> sbin\windows\start-cli.bat -sql_dialect table
#or
# V2.0.4.x and later versions, before version V2.0.6.x
Shell> sbin\windows\start-cli.bat -h 127.0.0.1 -p 6667 -u root -pw root -sql_dialect table
# V2.0.6.x and later versions
Shell > sbin\windows\start-cli.bat -h 127.0.0.1 -p 6667 -u root -pw TimechoDB@2021 -sql_dialect table
Parameter Explanation
| Parameter | Type | Required | Description | Example |
|---|---|---|---|---|
-h <host> | string | No | The IP address of the IoTDB server. (Default: 127.0.0.1) | -h 127.0.0.1 |
-p <rpcPort> | int | No | The RPC port of the IoTDB server. (Default: 6667) | -p 6667 |
-u <username> | string | No | The username to connect to the IoTDB server. (Default: root) | -u root |
-pw <password> | string | No | The password to connect to the IoTDB server. (Default: TimechoDB@2021,before V2.0.6 it is root) | -pw root |
-sql_dialect <sql_dialect> | string | No | The data model type: tree or table. (Default: tree) | -sql_dialect table |
-e <execute> | string | No | Batch operations in non-interactive mode. | -e "show databases" |
| -c | Flag | No | Required if rpc_thrift_compression_enable=true on the server. | -c |
| -disableISO8601 | Flag | No | If set, timestamps will be displayed as numeric values instead of ISO8601 format. | -disableISO8601 |
-usessl <use_ssl> | Boolean | No | Enable SSL connection | -usessl true |
-ts <trust_store> | string | No | SSL certificate store path | -ts /path/to/truststore |
-tpw <trust_store_pwd> | string | No | SSL certificate store password | -tpw myTrustPassword |
-timeout <queryTimeout> | int | No | Query timeout (seconds). If not set, the server's configuration will be used. | -timeout 30 |
| -help | Flag | No | Displays help information for the CLI tool. | -help |
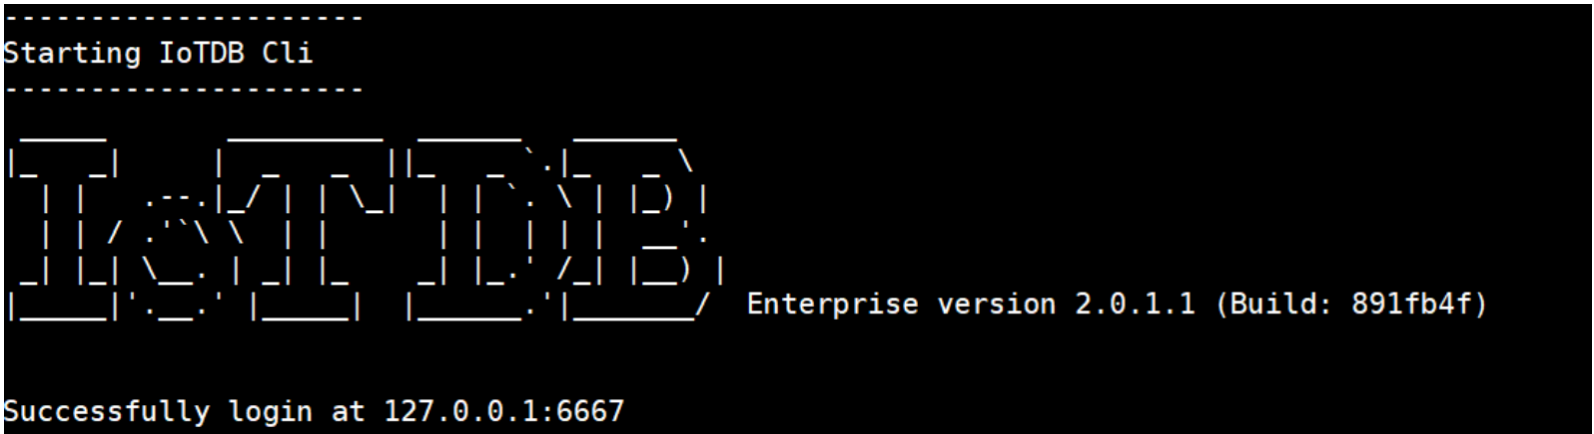
The figure below indicates a successful startup:
2. Example Commands
2.1 Create a Database
create database test
2.2 Show Databases
show databases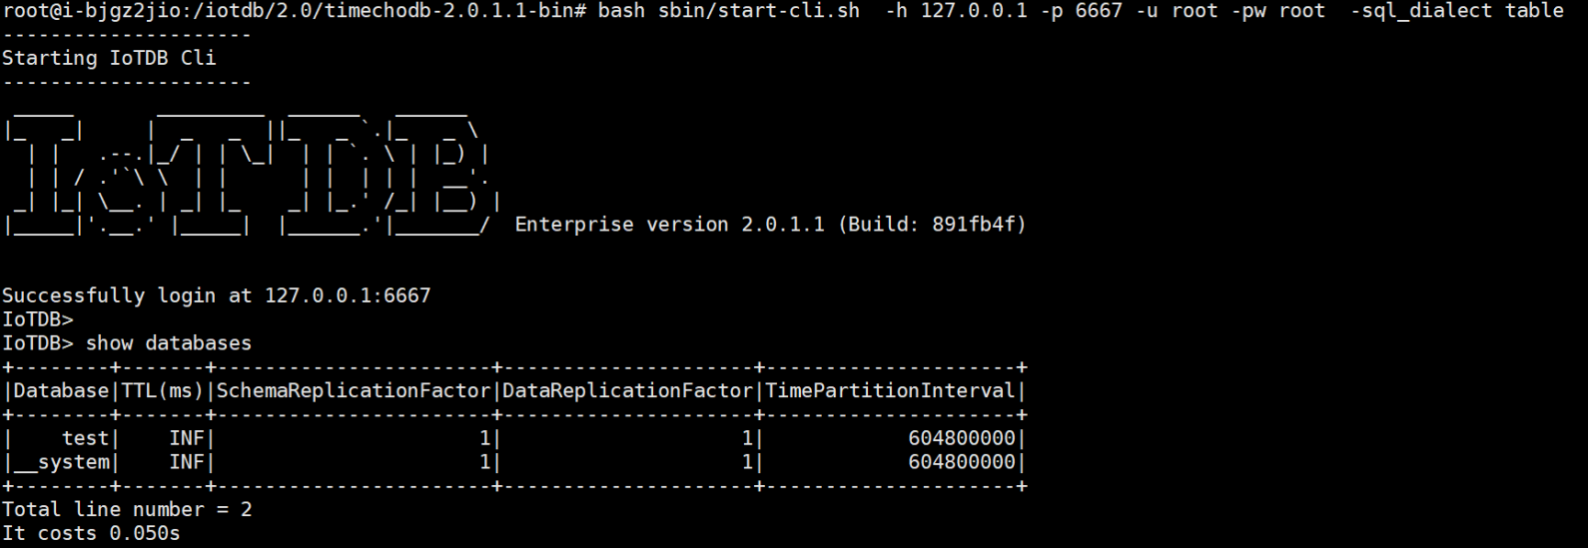
3. CLI Exit
To exit the CLI and terminate the session, typequitorexit.
3.1 Additional Notes and Shortcuts
- Navigate Command History: Use the up and down arrow keys.
- Auto-Complete Commands: Use the right arrow key.
- Interrupt Command Execution: Press
CTRL+C.
4. Access History Feature
Since IoTDB V2.0.9.1, the access history feature is available. After a client logs in successfully, key historical access information is displayed, and the feature supports distributed deployments. Both administrators and regular users can only view their own access history. The core displayed information includes:
- Last successful session: displays date, time, access application, IP address, and access method (not shown for first login or when no history exists).
- Most recent failed attempt: displays the date, time, access application, IP address, and access method of the latest failed login attempt immediately before the current successful login.
- Cumulative failed attempts: total number of failed session attempts since the last successful session was established.
4.1 Enabling Access History
You can enable or disable the access history feature by modifying the corresponding parameter in the iotdb-system.properties file. A restart is required for changes to take effect. For example:
# Controls whether the audit log feature is enabled
enable_audit_log=false- When enabled: login information is recorded and expired data is cleaned periodically.
- When disabled: no data is recorded, displayed, or cleaned up.
- If disabled and then re-enabled, the displayed history will be the last record before the feature was disabled, which may not reflect the actual latest login.
Usage example:
---------------------
Starting IoTDB Cli
---------------------
 _____       _________  ______   ______
|_   _|     |  _   _  ||_   _ `.|_   _ \
  | |   .--.|_/ | | \_|  | | `. \ | |_) |
  | | / .'`\ \  | |      | |  | | |  __'.
 _| |_| \__. | _| |_    _| |_.' /_| |__) |
|_____|'.__.' |_____|  |______.'|_______/  Enterprise version 2.0.9.1 (Build: xxxxxxx)


---Last Successful Session------------------
Time: 2026-03-24T10:25:47.759+08:00
IP Address: 127.0.0.1
---Last Failed Session----------------------
Time: 2026-03-24T10:27:26.314+08:00
IP Address: 127.0.0.1
Cumulative Failed Attempts: 1
Successfully logged in at 127.0.0.1:6667
IoTDB>
4.2 Viewing Access History
The root user and users with the AUDIT privilege can view login history records using SQL statements.
Syntax:
SELECT * FROM __audit.login_history;Example:
IoTDB> SELECT * FROM __audit.login_history
+-----------------------------+-------+-------+--------+---------+------+
|                         time|user_id|node_id|username|       ip|result|
+-----------------------------+-------+-------+--------+---------+------+
|2026-03-25T10:55:58.240+08:00|    u_0| node_1|    root|127.0.0.1|  true|
+-----------------------------+-------+-------+--------+---------+------+
Total line number = 1
It costs 0.213s